Learn how to create a new
...
Item.
This article will explain how to create a new itemItem.
How to create a new
...
Item
Select the + icon in the top navigation
barbar.
Select your chosen
itemItem type.
...
For more information about the different item Item types, please see our article here.
Please note that whichever item Item type you choose, the following steps when adding details will be the same.
Step 1: Key details
Fill in the most important details, such as title, description, content type, price.
You can also choose to edit the tile image or display
imageimage.
You can
also add tags toalso add Tags to make this content more easily searchable.
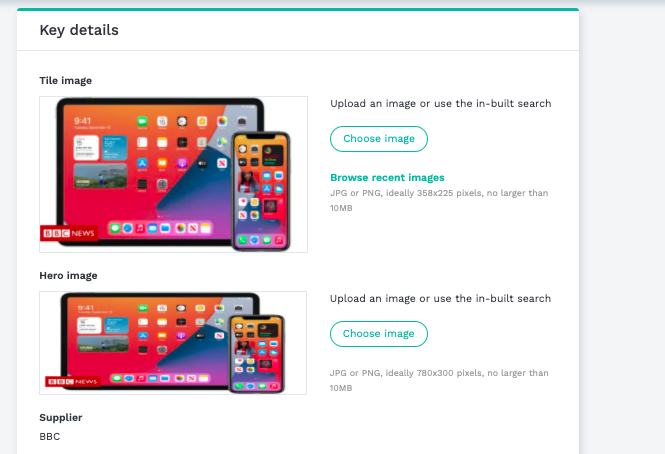
...
Step 2: Engagement
Q&A, Discussion and Reviews:
You can choose which of these features you would like to appear beneath your itemItem. 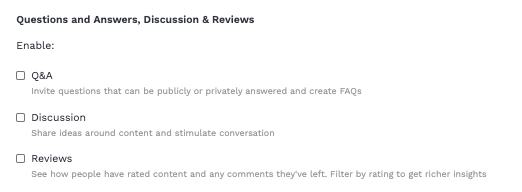
...
They will appear at the bottom of your article as follows: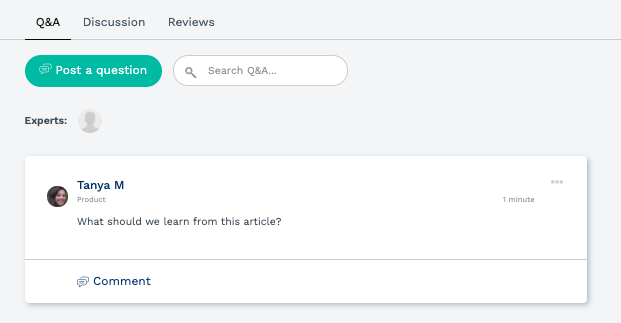
...
Add
...
an Exercise:
You can add can add an exercise to Exercise to your item Item to help gather evidence of completion or assess understanding.
...
For more information about exercisesExercises, please read our article here.
Step 3: Completion
Certificates
You can choose whether to assign a certificate Certificate for completion of this itemItem.
If you select this checkbox, a certificate Certificate will be automatically assigned to each learner that completes this itemItem.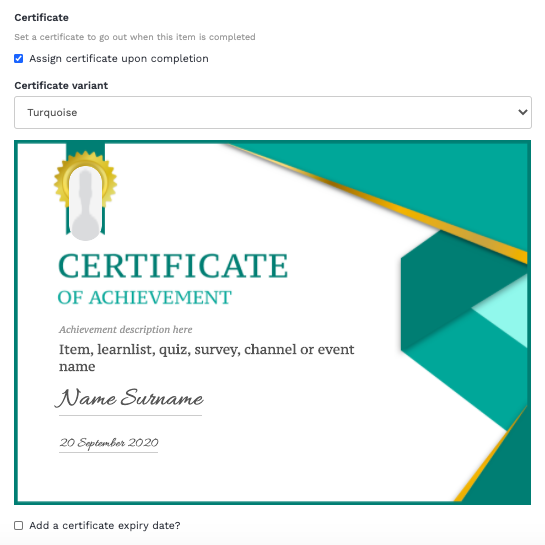
...
Completion and Notifications
Choose how your learners should complete this itemItem.
...
Manually mark as complete: This This means that the learner will have to press the green tickbox in the corner of the item Item for the item Item to be marked as complete.
Automatically complete when clicking to view web page: For For this example, we've chosen the item Item to be a weblinka weblink. So in this case, when the learner clicks the launch button into the webpage, it'll be marked as complete.
Choose who should get notified of completion. Please note that they will receive an inan in-app notification and notification and also an email.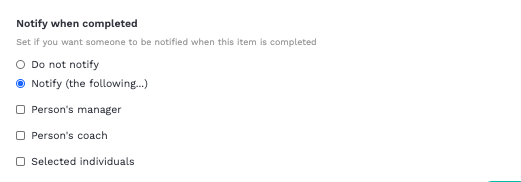
...
Step 4: Visibility & Permissions
Visibility
Choose the visibility of your itemItem.
For full information about visibility about visibility on itemsItems, please read our extended article here. 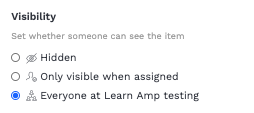
...
Display added by
You have the option to display who the item Item was added by - and this will show up on the item Item itself (please see example below) below the title.
This is how it will appear once live: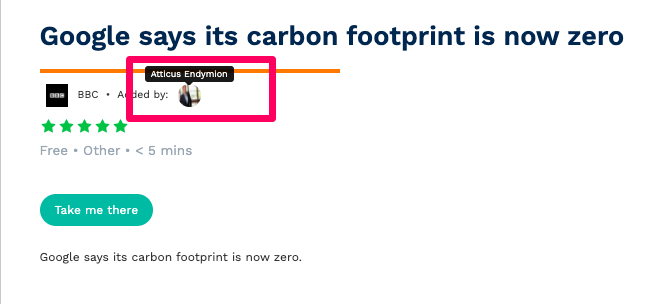
...
Set live & expiry
These are optional toggles that you can add to the itemItem.
...
If you select a go live datea go live date, this item Item will only become visible in the library on this date.
...

If you select an expiry an expiry date, this item Item will move back to 'hidden' visibility on this date.
...
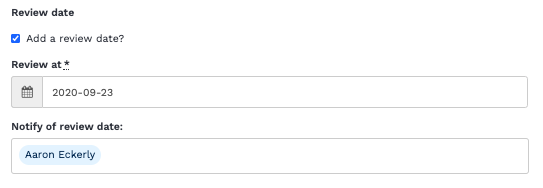
If you select a review datea review date, the selected persons will receive an in-app notification asking them to review the content.
For more information about this feature please see our article here.
Permissions
By default, all users with a role of Adminadmin, Owner owner or Curator curator can edit this content by default. You can also select additional users (e.g. Learners, HR or Reporter roles) to be able to edit this content too. They'll have the exact same editing permissions, but not be allowed to assign additional editors.
For more information, please click here. 
...
Step 5: Done!
Congratulations, you're all done!
...
We hope this article was helpful. For more information, please get in touch with us at support@learnamp.com and we'll be happy to help.