Teams are easy to set up and edit, simply follow these steps...
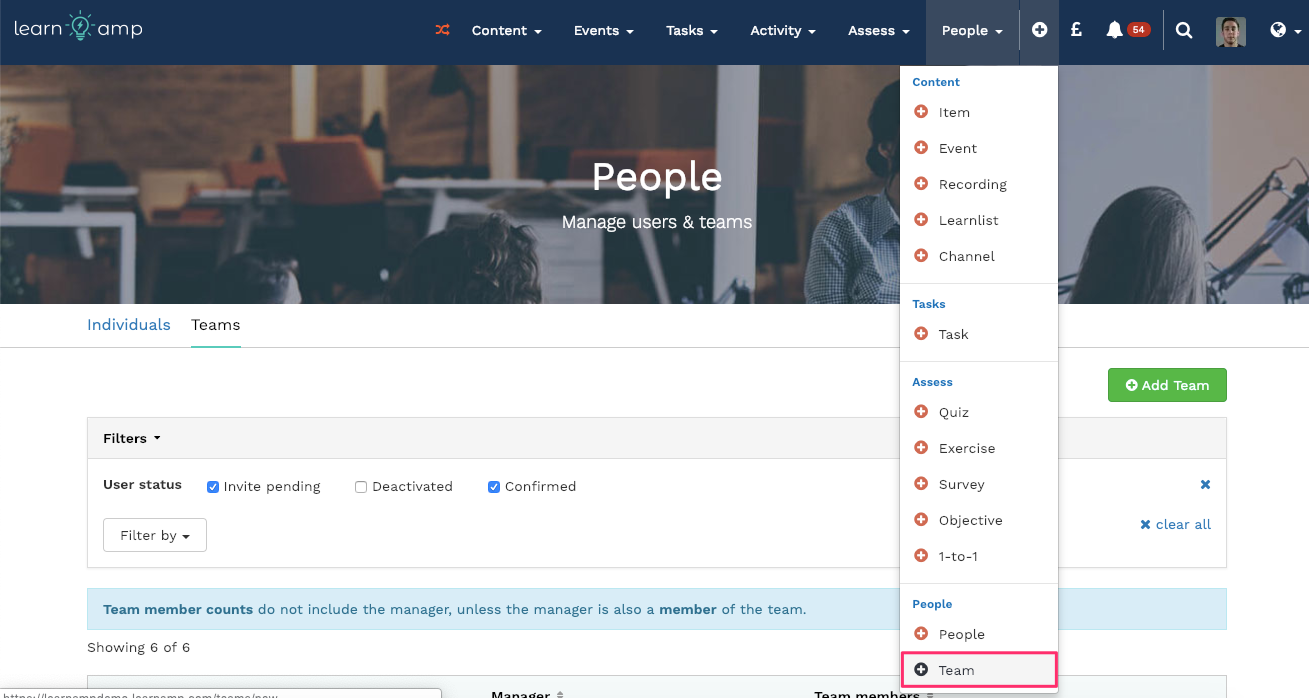
- Click the plus icon in the navigation, then click 'Team'
- Give a name to the team, if you want some ideas of typical ways that people organise teams, click here
The first step will allow you to choose to add a Team manually or upload a CSV file for bulk import.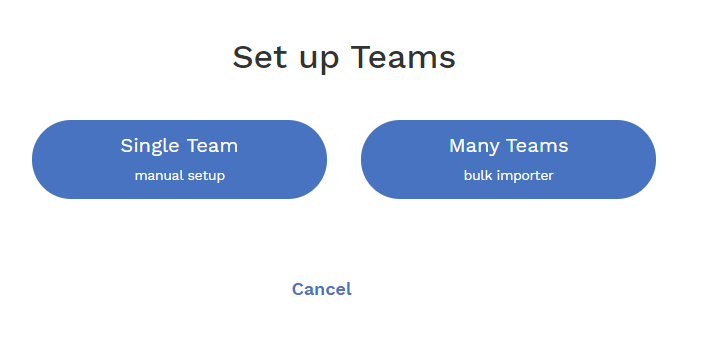
Clicking Single Team will take you to the creation wizard:

Step 1: Key details
- Fill in the most important details, such as Team name and description
- You can also choose to edit the tile image or display the image
- You can also add tags to make this content more easily searchable
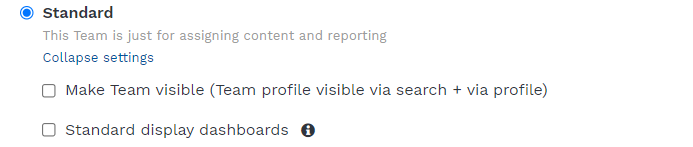
Step 2: Type
Select type of the Team:
Standard
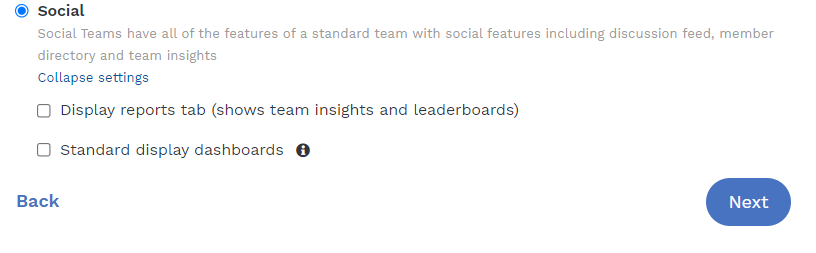
Social
Step 3: Managers
Assign a Manager: Start typing the name of the person to assign and their name will appear in the dropdown.
Decide to add secondary and stand-in managers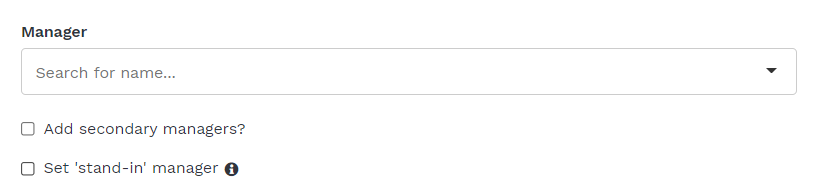
Step 4: Privacy
Choose the visibility of your Team.
Public - this setting will make the Team visible to all users, including contents, and allowing users to join or leave as they wish
Private - this setting will make the Team visible to all users, however, to see contents they will have to be invited or apply to join
Secret - hidden from public view, users must be invited to join the Team and view content
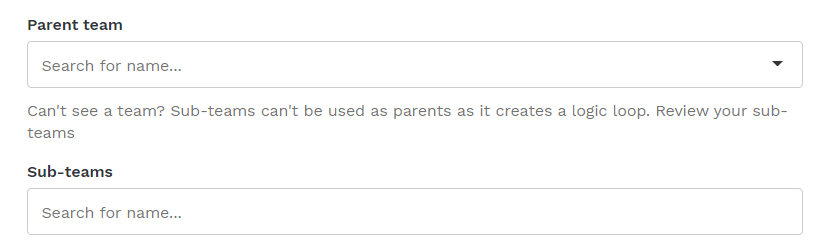
Step 5: Hierarchy
Place your Team within organisation by attaching it to a parent team or adding sub-teams.
Step 6: People
Add users to your Team by typing their names in the drop down box
Step 7: Done!
Congratulations, you're all done!
To find out more about managing teams, click here